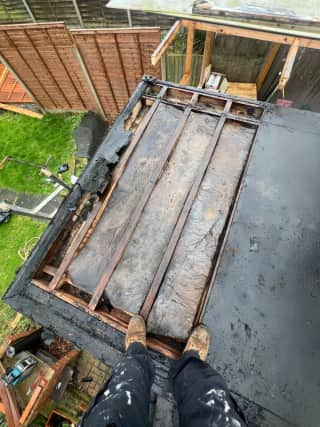
What Is The Average Cost To Replace A Flat Roof?
Are you interested in knowing how much it costs to replace a flat roof? Here, you’ll discover a price breakdown for replacing flat roof. This includes a number of price determining factors such as materials costs as well as cost of labour and cost per square metre. All these enables you to make easy calculations so that you can determine a flat roof replacement estimate for your own project.
The type of flat roof that is the most common type is the garage roof and for the replacement of a single garage roof, the cost will fall between the range of £700 to £1000. Meanwhile for a double garage, you should expect a price increase of about 40 percent to 50 percent. The main price determinant that’s affecting the price of a new flat roof is the material incorporated in making it. For instance, lead or fibreglass are much more expensive when compared to felt roofs.
Generally, the cost of a flat roof replacement will fall within the range of £700 to £1300 varying largely due to the type of materials to be used by the roofer, the roof’s size as well as whether or not scaffolding would be used. Multiple flat roof applications also comes with different costs which includes:
• Felt roof ( £40 to £60 per square metre).
• Fibreglass roof ( £70to £90 per square metre ).
• Rubber roof ( £80 to £85 per square metre ).
• Lead bay roof ( £90 to £105 per square metre ).
• Fibreglass bay roof ( £40 to £60 per square metre ).
Several professional roofers work in pairs and to hire them you’re likely to be charged between £200 to £300 per day. The project can be completed with just a day’s work, but the installer should be back to make sure there are no leaks.


