How To Plasterboard A Brick Wall
Do you want to cover your brick wall with plasterboard? The key to success here is the preparation. You must ensure that brick wall is prepared well enough to receive the plasterboard. To get started, there’s the need to attach wood furring strips to the wall which serves as studs in a wood frame structure. This way, the plasterboard will be prevented from getting in touch with the brick. You can always hang pictures or any other forms of decoration in between the gap between the walls. Let’s have a look!
lAttach Furring Strips
• Get a 2 inch by 4 inch wood stud and apply a bead of construction adhesive.
• Using a masonry bit, drill a pilot hole through the wood stud’s base as well as the brick wall.
• Hit a 3 inch fluted nail through the hole using a sledgehammer
• Using a construction adhesive, bind a horizontal 2 inch by 3 inch stud to the upper edge of the wall.
• Using an adhesive, bind the length of a 2 inch by 3 inch stud on its wide side.
• Use a masonry drill to drill a hole on the wood stud and 1 1/2 inches into the brick wall.
• Hit a 3 inch fluted nail through the pilot hole.
lApply Plasterboard
• Hold a plasterboard sheet against the furring strips.
• Use plasterboard screw to hold the drywall sheets in place.
• Use fibreglass to cover the joints where the two plasterboard sheets meet.
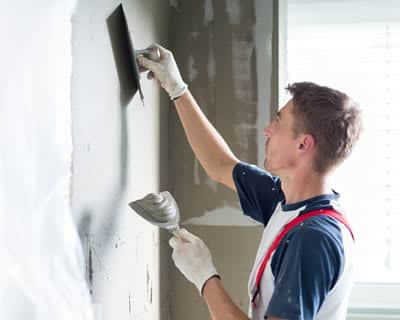
• Use a thin layer of the joint compound on the tape. Once done, screw it using a 6 inch taping knife, then allow to dry overnight.
• Use a sandpaper to smooth the joint compound.
• Use a fresh coat of the joint compound to block the holes and joints. Once done, allow the compound to dry.
• Use a light sandpaper to smooth the final coat.
Plasterboarding a brick wall is a simple task but the preparation part must be done right to protect your investment. Therefore, we’d recommend you hire the services of a skilful professional, who can guarantee the best results especially if you lack enough training and experience to carry out a DIY project.